


What Is Vue.js
Vuejs is an open-source progressive javascript framework created by Evan You in February 2016 to enable the building of user Interfaces, It has a low learning curve which means it is easy for beginners to learn, although it is recommended that beginners understand the fundamentals of javascript before jumping into vuejs or any javascript framework.
Why Should I learn Vue
- It provides us with an easier way of creating user interfaces.
- It has a relatively small size of about 22kb, which is great for website performance. The larger the size, the slower the website.
It has a virtual dom i.e, a copy of the actual dom that only renders aspects that have been updated or changed. Great, right?
It has high speed and is easy to scale if the website gets larger.
It has an amazing community of developers ready to help you out in case you get stuck. Yes, I'm saying this from experience.
It has detailed documentation, nicely represented and organised with examples and practise test that helps you learn as you build.
Now, let us begin. Let's see my vue point.
How Do You Install Vue
Vue can be installed using build tools and without build tools. In this article, we will be following the no-build tool option.
First, add the following script tags to the head of your HTML.
<head>
    <script src="https://unpkg.com/vue@3"></script>
</head>
Using Vue
Now, let us create a simple counter increment app. It is better to learn by practice.
First, create a new application instance. Add a script tag or link your Javascript file to your HTML
<script>
    // code here
</script>

// or

<script src="yourFile.js"></script>
Next, we begin writing our Javascript code
import { createApp } = Vue;

const app = createApp({
  // root component options here
});
Import the createApp() function that receives an object which will serve as the root component.
When you have done that, mount the app using a selector string or an actual DOM element.
- HTML
<div id="myApp">

    <!--  where root component contents will be rendered-->

</div>
-JAVASCRIPT
<script>
import { createApp } from 'vue';

const app = createApp({
  // root component options here
});

app.mount("#myApp"); // mounted on our div with id of "myApp"

</script>
Vue allows the use of "moustache" syntax for text interpolation. This feature lets you declaratively bind properties from the component instance to the actual DOM. I'll show you an example.
Add a data component option. This function returns an object that is accessible to the component.
Our root component made with createApp will be mounted on the <div> with an id of "myApp"
- javascript
import { createApp } from 'vue';

const app = createApp({
  data() {
        return {
            name: "the wimpy teacher"
        }
   }
});

app.mount("#myApp"); // mounted on our div with id of "myApp"
Next, add a moustache syntax containing your name property to display the value of the name property within a <p> tag.
- html
<div id="myApp">

    <p>{{ name }}</p>

</div>
- This should be the result
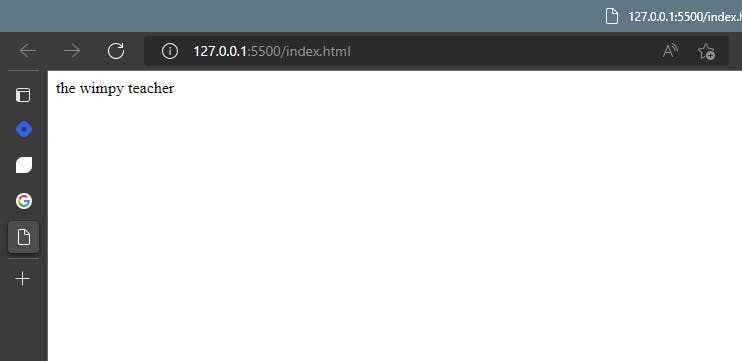
This was a demonstration of vue's declarative rendering capabilities. js.
Creating A Counter App With Vue
Let's create a simple increment counter app using vue text interpolation and custom events listener(v-on).
- First, add a count property with an initial value of 0 to the
datafunction
const {createApp} = Vue;

const app = createApp({
   data() {
        return {
            count: 0;
        }
   }
});

app.mount("myApp");
Change your HTML to point to the count property.
<div id="app">

    <p>{{ count }}</p>

</div>
Now, use the v-on directive to listen for events on elements in the app instance, and then add a button element for incrementing.
<div id="app">
    <p>{{ count }}</p>
    <button v-on:click="count++">add</button>
</div>
That's simple enough, but here's how it happened:
- The
v-ondirective listens to the event attached to it. - Since the button had a click event(
v-on:click), it listened for click events from the button element. - Next, we added instructions for it to increment and update the count property by one.
Aside from directly entering commands into the attributes, we can specify a function name. This function will be exposed to the application instance via a methods property on the root component, which, unlike our data property, it is not a function. Our data property is a function because it allows data to be unique across components.
Let's edit our javascript
const {createApp} = Vue;

const app = createApp({
    data(){
         return {
              count: 0
          }
     },
     methods: {
            increment() {
                  this.count++ ;
            }
      }
});

// mounted on our div with id of "myApp"
app.mount("#myApp");
The data object is exposed directly to this for the current active instance.
- Let's specify the method in our HTML
<div id="myApp">
        <p>{{ count }}</p>
        <button v-on:click="increment()">add</button>
    </div>
The increment function is called by the v-on:click command. This was pretty simple and straightforward, right? It just displayed vue simple syntax, reactivity, and text interpolation.
Final Thoughts
vue offers more features like:
- Two-way binding
- JSX support
- Transitions
- Computed properties
- Custom directives
If you enjoyed this article and want to learn more, their documentation provides additional insights and hands-on tutorials, see the link below.
Thanks for reading see you next time, more vue articles coming